Kaltura: Express Capture
Express Capture is a web-based webcam, audio, and screen recording system. Unlike Kaltura Capture, no software needs to be downloaded to use Express Capture as it works through a web-browser.
Instructions
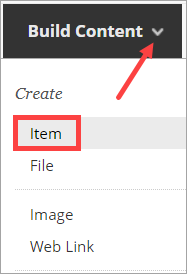
- Within a content area, from the Build Content menu select Item.
- Name the Item. If needed, add a description or directions for the video in the Text box to provide context for why the video is important for students to view.
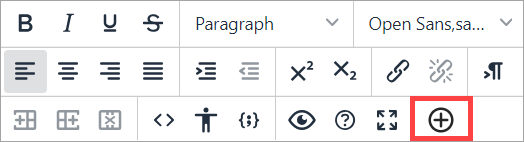
- In the bottom row of the Text box, select Add content (plus sign).
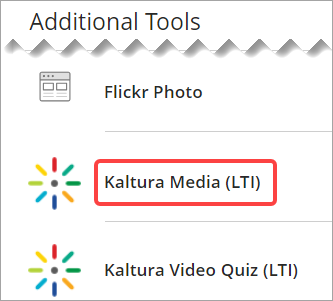
- Under Additional Tools, choose Kaltura Media (LTI).
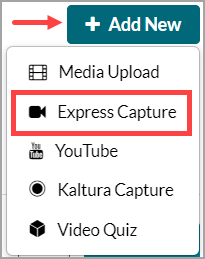
- On the My Media tab, click the Add New button and select Express Capture.
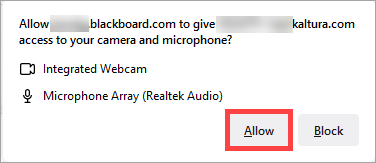
- Select Allow to grant access to your computer’s microphone and camera.
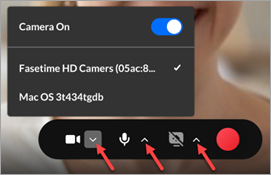
- If you have multiple cameras or audio devices, click the arrows next to the webcam and audio icons to select the camera and microphone to be used. Click the arrow next to the screen icon to turn screen recording on or off and if on, select the screen to record.
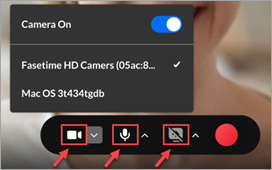
- Click the icons for the webcam, audio, and screen to turn these recording features on and off. If an icon has a diagonal line through it, this feature is not used in the recording.
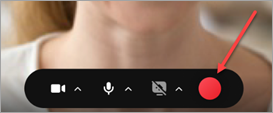
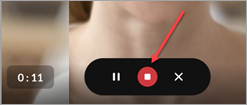
- Click the red Record button to begin recording. A 3-second countdown window is displayed.
- Click the Stop button to stop recording.
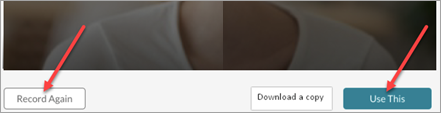
- Choose Record Again to retake the recording or Use This to use the current recording. Record Again discards the current recording.
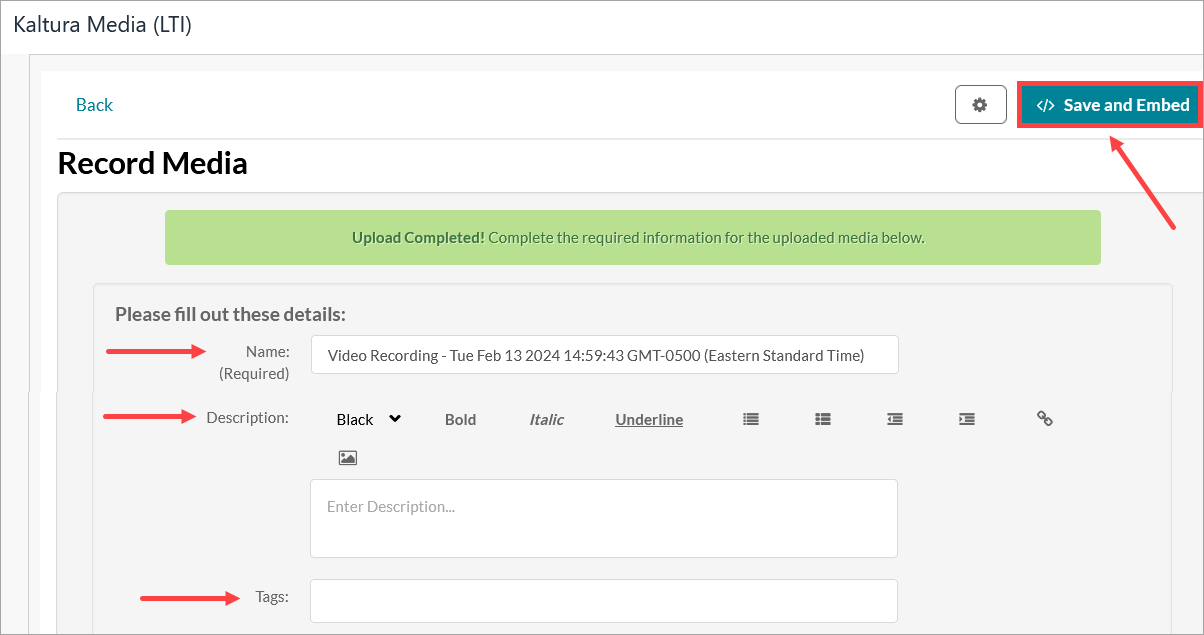
- Rename your video in the Name box and add a Description or Tags if desired. Select </> Save and Embed in the upper right to add the video to the item.
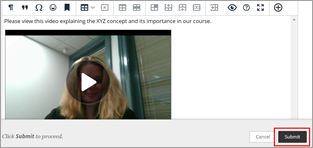
- Review the title and description. You may see a “media processing” notice while the video is rendering with Kaltura. Scroll down and select any Options, if needed. Click Submit to finish adding the audio or video file to the ulearn content area.
Note: You can navigate away from the page and continue working while the video is rendering. Once it is ready, you will be able to play it.