Editing a Kaltura Video in Ulearn
Users can trim, split and cut a video uploaded to Kaltura directly in ulearn through the My Media tool.
Table of Contents
Instructions
Launching the Editor
- To access Kaltura My Media, log into ulearn and click on the Kaltura My Media link from the ulearn homepage.
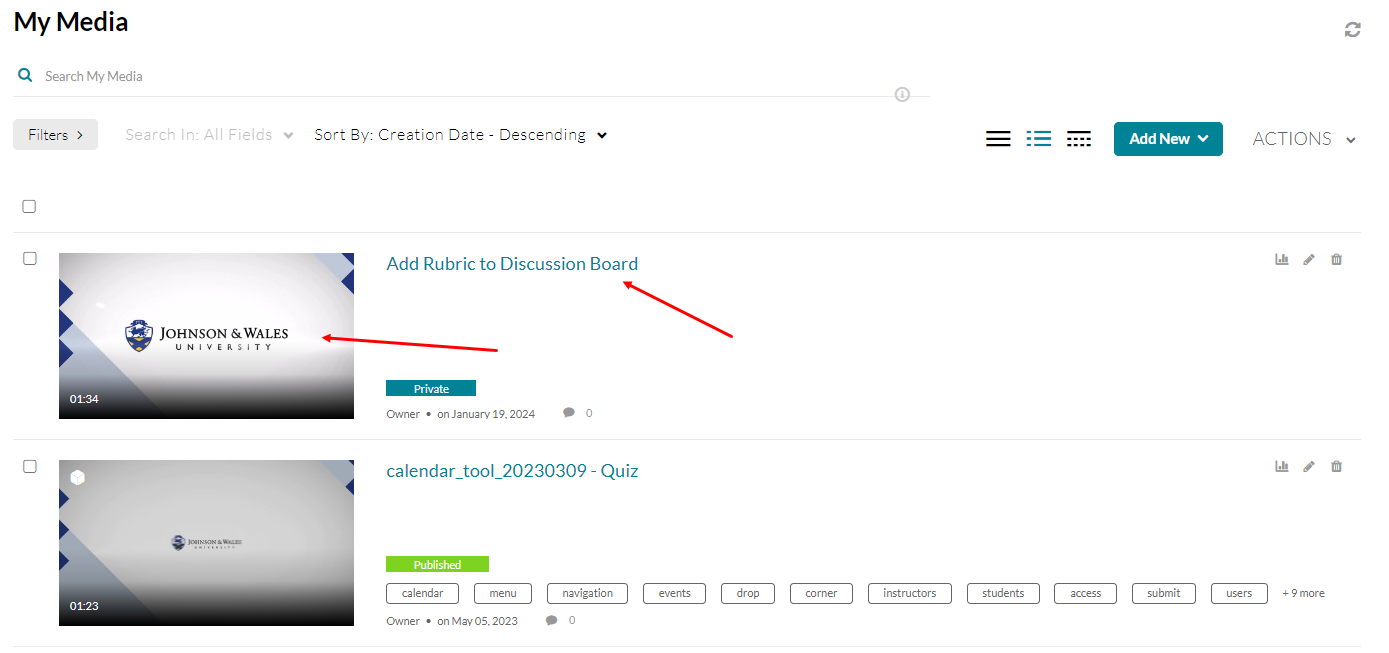
- Locate your video in the list of videos and click directly on the video thumbnail or video title to open it.
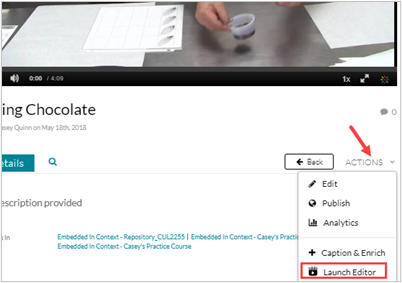
- From the Actions menu below the video, click on Launch Editor.
Interface
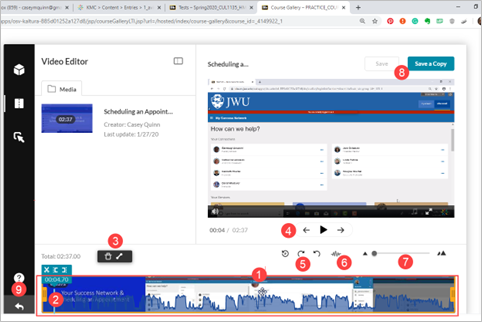
- Timeline: Scroll through the video, trim and cut portions of the video on the timeline.
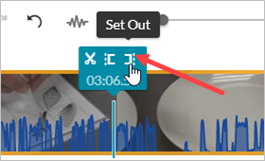
- Playhead/Cursor: Use to move through the video; The split tool splits the video into two separate pieces at the selected point. Set In sets the start of the video; Set Out sets the end of the video.
- Delete/Fade In/Out: Delete removes a selected section of the video. Fade In/Out: Transition the start and end of the video to or from black.
- Player controls: Use to play, pause, and jump to the beginning or end of the video.
- Reset/Redo/Undo: Reset resets the timeline to the last time the video was saved. Undo undoes the last action you performed on the timeline. Redo brings back the action last undone.
- Show/Hide Audio: Display or hide the audio track on the timeline.
- Zoom controls: Zoom the timeline in to allow for intricate editing or out to see the overall video.
- Save/Save a copy: Save replaces the originally record video with the newly edited video. Save a copy create a new version of the video and keeps the original recorded video.
- Exit: Closes the video editor and returns you to the Media Gallery.
Trimming Video
- Set the in point (where you want the video to start) and out point (where you want the video to end) by dragging the handlebars at the beginning and end of the timeline to the desired points.

Alternatively, you can set the in and out points by placing the cursor anywhere on the timeline and clicking on the Set In and Set Out Icons.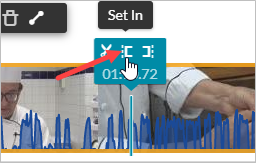
- Click the Save button to replace the original video with the trimmed video. Click Save a Copy to keep the original video and create a new copy of the trimmed video.
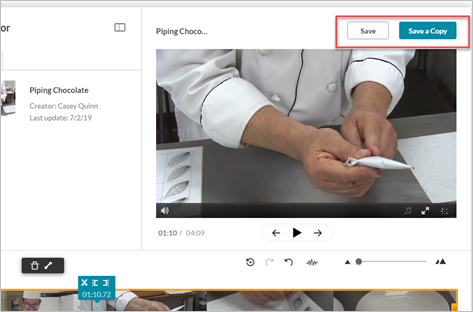
Note: Clicking Save will permanently alter your video. If you’re not sure you want to permanently alter the video, click Save a Copy.
Cutting Video
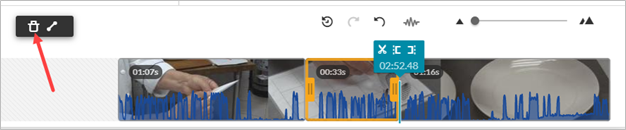
- To remove a section from within a video, move the cursor to the section of the video you want to cut. Click the Split button (scissors icon). The video will split into two pieces.
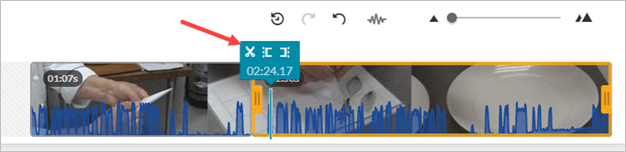
- Move the cursor to the end of the section to be removed and click the Split button again.

- To delete the highlighted section, click on the Trash Can icon to delete it.
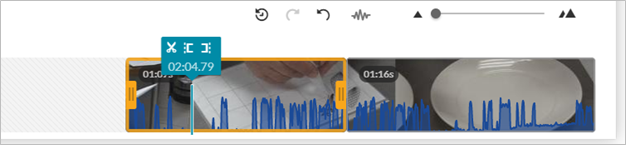
- Drag the two pieces together to create one video.
- Click the Save button to replace the original video with the trimmed video. Click Save a Copy to keep the original video and create a new copy of the trimmed video.

Note: Clicking Save will permanently alter your video. If you’re not sure you want to permanently alter the video, click Save a Copy.
Publishing Video
- In order for your video to be viewable in the Media Gallery or in ulearn content areas, you will need to publish it. From the Media Gallery, click on the video to open it. From the Actions menu, select Publish. You can choose either a private or published setting:
Private: Only you can see the video. It will now show up in your My Media area.
Published: Anyone with access to the Media Gallery can see the video. You can also choose to publish your video to Media Galleries in other classes.
- Click Save.